You do not need any modeling experience to look confident and natural in front of my camera. Posing is a collaboration — I give you small, specific cues, you make tiny adjustments, and we build each shot together one frame at a time. Here are the same core principles I use to direct every session, so you know what to expect and why it works.
 Triangles & Curves: The Foundation of Every Pose
Almost every flattering pose comes down to two shapes: triangles and curves.
- Triangles are created by bending an elbow, propping a knee, or resting a hand on a hip. They break up straight lines and add visual interest to an otherwise flat silhouette.
- Curves come from the natural “S-line” of the spine when weight shifts to one hip, or from a gently arched back. Curves read as soft, relaxed, and feminine on camera even when the body is actually quite tense — which is why direction matters more than instinct.
I will often ask you to “pop a hip,” “bend that back knee,” or “bring your elbow off your body” — these are all requests to introduce a triangle or a curve into the frame.
 Weight, Balance & the Back Leg
Standing straight-on with your weight evenly split on both feet is the single most common reason a pose looks stiff in photos. Instead:
- Shift your weight onto your back foot and let the front leg soften or cross slightly. This automatically tilts the hips and creates the S-curve above.
- Keep a small, visible gap between your arms and your torso. Arms pressed flat against the body flatten and widen everything they touch — even a one-inch gap creates definition and shadow.
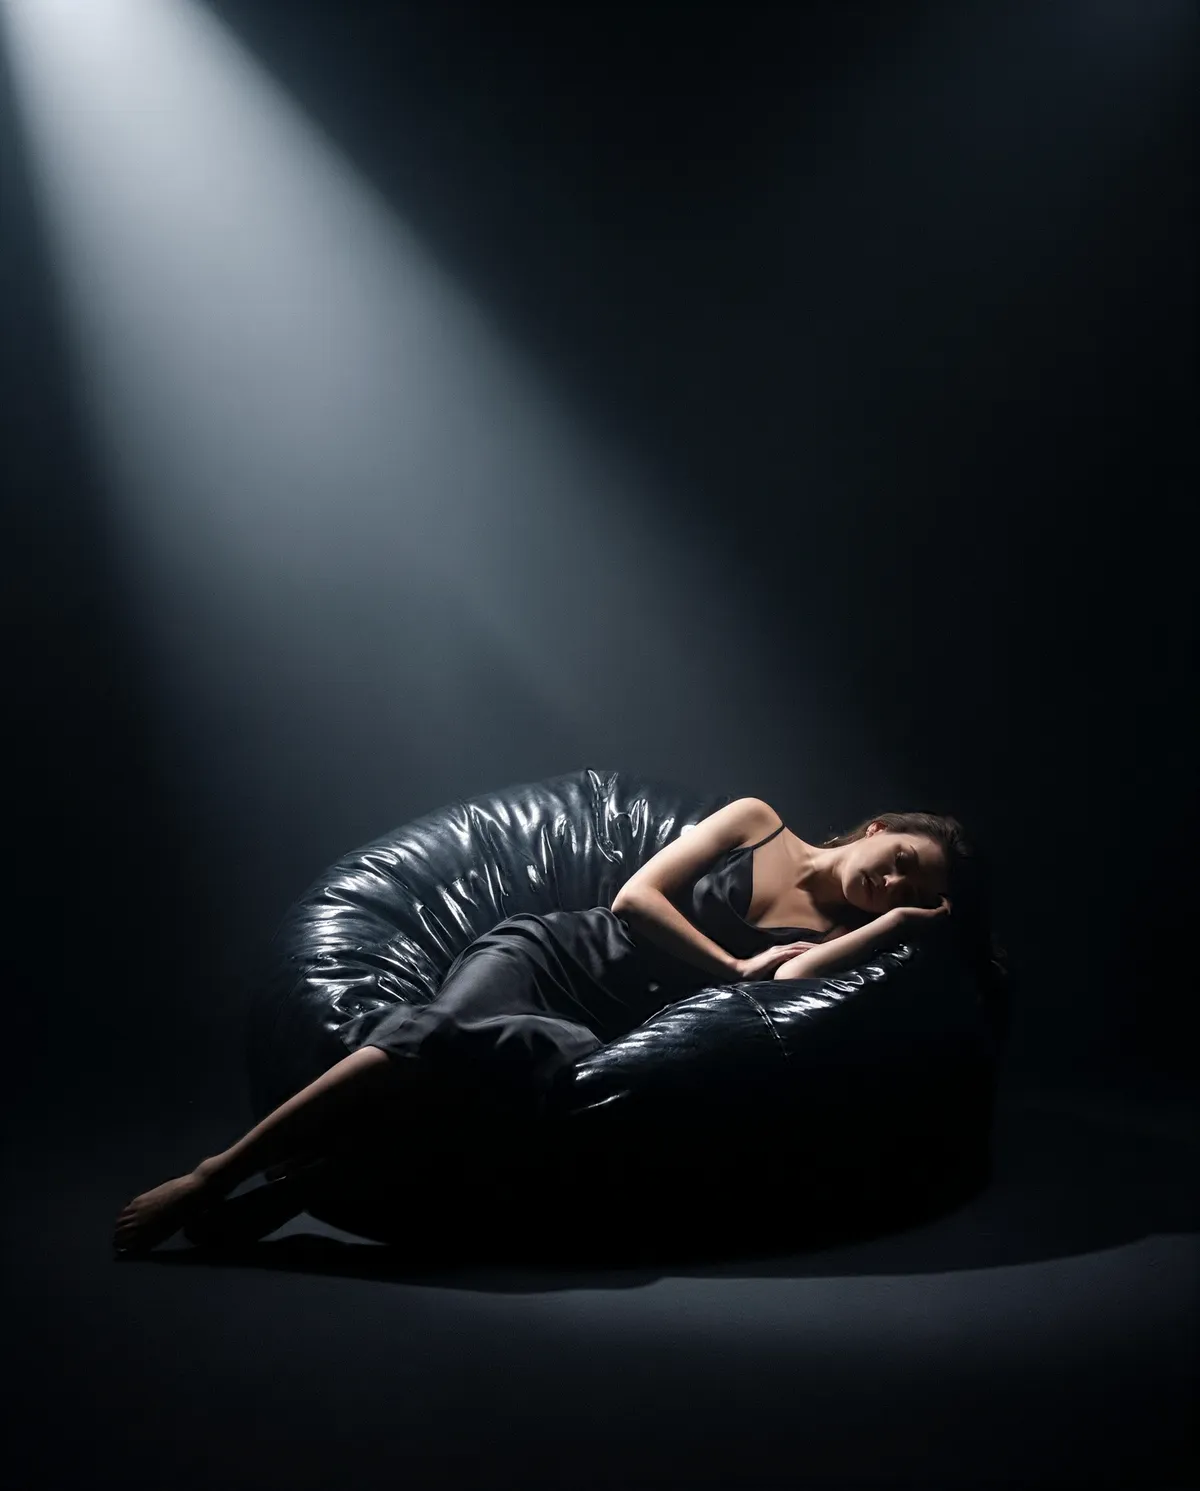
- On the ground or on furniture, avoid distributing weight flat onto your stomach or back. Propping up on a forearm or elbow lengthens the torso and avoids unflattering compression.
 Hands
Hands are often the hardest part of a pose because they feel awkward to the person making them — even though they rarely look awkward on camera. A few reliable fixes:
- Avoid a flat, tense “karate chop” hand. Relax the fingers slightly and let them curl naturally, the way a hand rests when you set down a coffee cup.
- Give hands a job: hold the edge of a sheet, rest against your collarbone, thread through hair, or grip a doorframe. Purposeful hands always look more natural than hands with nothing to do.
- When in doubt, show the side of the hand to the camera rather than the back or palm — it’s the most universally flattering angle.
 Chin, Neck & Gaze
Small adjustments to the head and eyes change the entire mood of an image:
- Chin forward and down, not just down — this elongates the neck and defines the jawline instead of creating a double chin. I’ll often say “bring your forehead toward me” to get this without over-explaining.
- A long neck reads as relaxed confidence. Think about growing taller through the crown of your head rather than lifting your chin up.
- For gaze, you have three reliable options: straight into the lens, a soft focus somewhere just off-camera, or eyes closed. All three work — looking slightly down and off to the side, without closing your eyes, is usually the only gaze that tends to read as uncertain rather than intentional.
 Movement Over Stillness
Static, held poses are where tension creeps in. Instead of locking into one position, I’ll usually direct a small movement — shifting your weight, running a hand through your hair, a slow exhale, a gentle sway — and shoot several frames through that motion. The best shot is almost always somewhere in the middle of the movement, not the static “hold it” moment. This also means you do not need to find the “perfect” pose and freeze; you just need to move the way I describe and trust that we’ll find the frame together.
 You Don’t Need to Know How to Pose
Every suggestion above is something I’ll walk you through in real time, in plain language, during your session — you are never expected to arrive with a shot list memorized or poses rehearsed. My direction is always verbal, you’re always in control of your comfort level, and we’ll repeat or adjust anything that doesn’t feel right until it does.